У вас большие запросы!
Точнее, от вашего браузера их поступает слишком много, и сервер VK забил тревогу.
Эта страница была загружена по HTTP, вместо безопасного HTTPS, а значит телепортации обратно не будет.
Обратитесь в поддержку сервиса.
Вы отключили сохранение Cookies, а они нужны, чтобы решить проблему.
Почему-то страница не получила всех данных, а без них она не работает.
Обратитесь в поддержку сервиса.
Вы вернётесь на предыдущую страницу через 5 секунд.
Вернуться назад
У вас большие запросы!
Точнее, от вашего браузера их поступает слишком много, и сервер VK забил тревогу.
Эта страница была загружена по HTTP, вместо безопасного HTTPS, а значит телепортации обратно не будет.
Обратитесь в поддержку сервиса.
Вы отключили сохранение Cookies, а они нужны, чтобы решить проблему.
Почему-то страница не получила всех данных, а без них она не работает.
Обратитесь в поддержку сервиса.
Вы вернётесь на предыдущую страницу через 5 секунд.
Вернуться назад
У вас большие запросы!
Точнее, от вашего браузера их поступает слишком много, и сервер VK забил тревогу.
Эта страница была загружена по HTTP, вместо безопасного HTTPS, а значит телепортации обратно не будет.
Обратитесь в поддержку сервиса.
Вы отключили сохранение Cookies, а они нужны, чтобы решить проблему.
Почему-то страница не получила всех данных, а без них она не работает.
Обратитесь в поддержку сервиса.
Вы вернётесь на предыдущую страницу через 5 секунд.
Вернуться назад
How To Enable Virtualization In Gigabyte BIOS
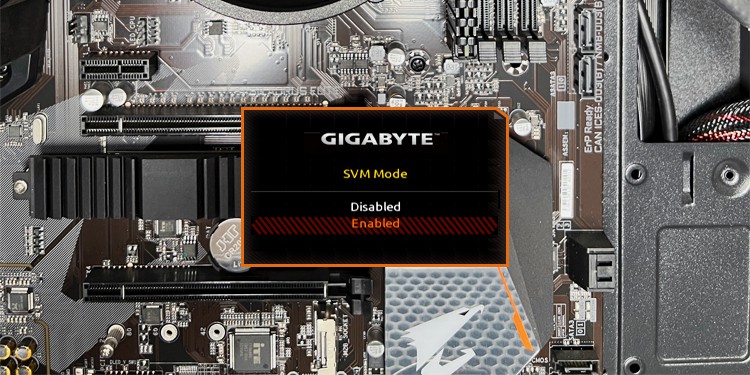
A lot of users can’t find the hardware virtualization option in the BIOS interface as its name and location differs depending on the processor type and BIOS version.
In Gigabyte’s case, it’s usually called SVM (AMD) or VT-x (Intel) and can be configured from the Chipset or Advanced CPU Settings sections.
I’ll cover the steps to do this on different Gigabyte BIOS/UEFI interfaces in this article.
Table of Contents
Access BIOS/UEFI Interface
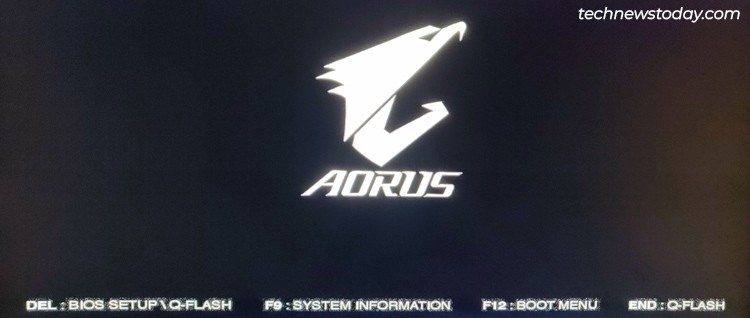
To enable Virtualization, you’ll need to access your BIOS settings first. Press F2/Del when booting to enter the Gigabyte BIOS Setup utility.
If you’ve enabled Fast Boot and the BIOS key doesn’t work, you can use an alternate method to get to the firmware interface.
Restart your PC 3 times in a row to boot to the recovery environment. Then, select Troubleshoot > Advanced Options > UEFI Firmware Settings.
Locate Virtualization Option
Press F2 (if required) to switch to Advanced Mode. As mentioned earlier, you’re looking for an option named SVM (AMD) or VT-x (Intel) here.
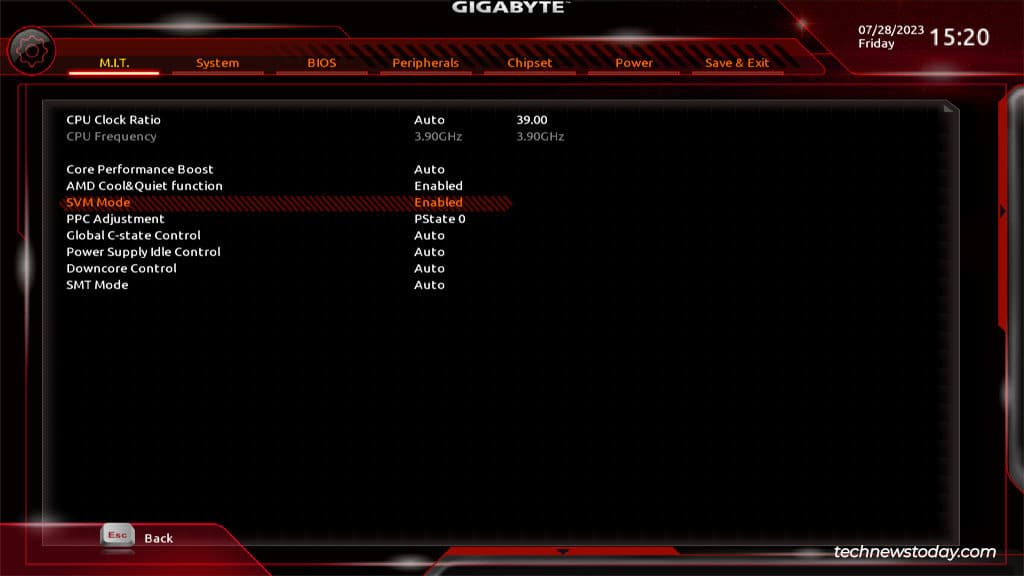
Currently, older Gigabyte boards use the classic black-and-red UI, while the latest ones come with the revamped orange/yellow UI released in 2020.
Old UI
On the old UI, you can manage the virtualization setting from the locations listed below:
New UI
With the new UI, you can find the virtualization option in the following locations:
Enable Virtualization on Gigabyte
Once you find the virtualization option, all you need to do is set it to Enabled.
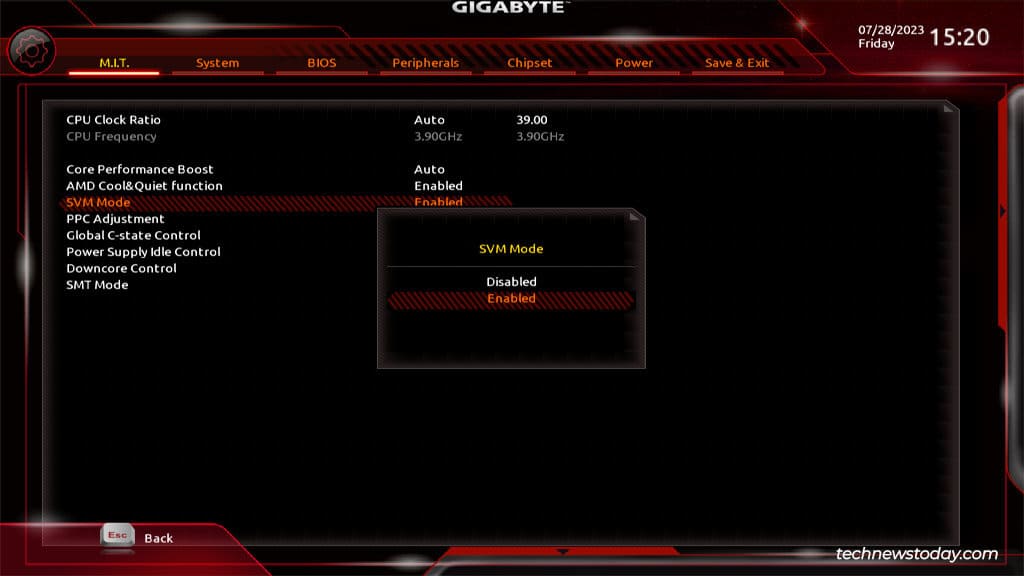
If your CPU supports it, you can also enable the PCI passthrough feature. AMD calls it IOMMU while Intel calls it VT-d.
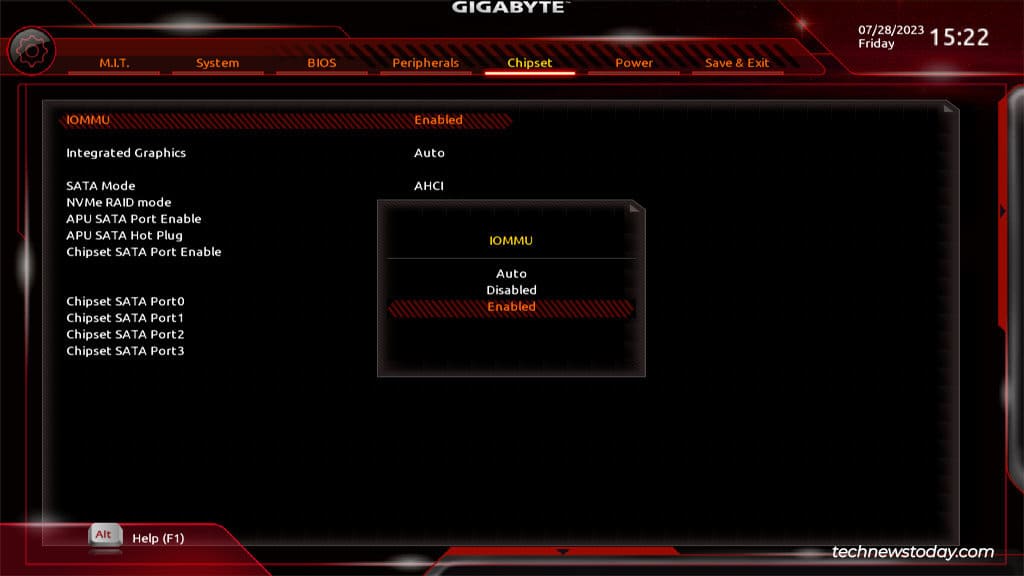
This improves performance by letting the PCI devices function as if they were directly connected to the guest machine (e.g., better GPU performance in video games).
Finally, after enabling virtualization and any additional settings, press F10 to save the changes and exit.
Verify Virtualization Status
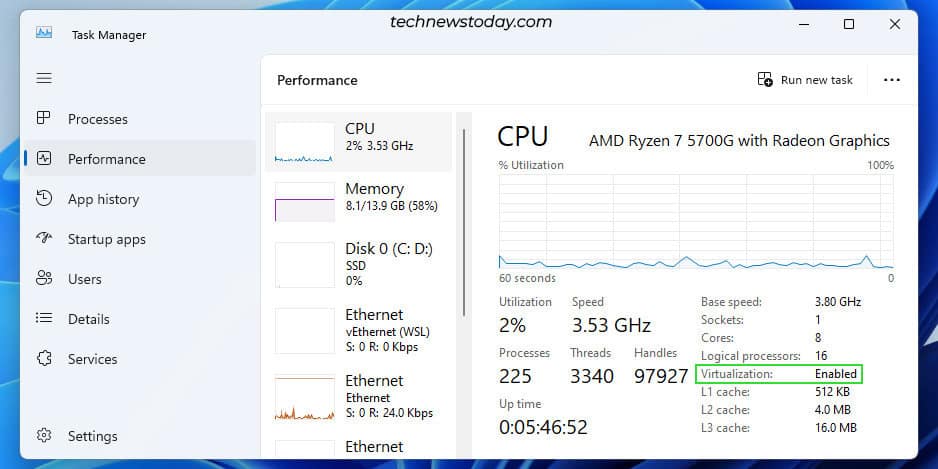
After you exit the BIOS, the system should reboot into Windows. You can easily check the virtualization status here from the Task Manager.
Press Ctrl + Shift + Esc to open the Task Manager. In the Performance tab, check the CPU page for the Virtualization status.
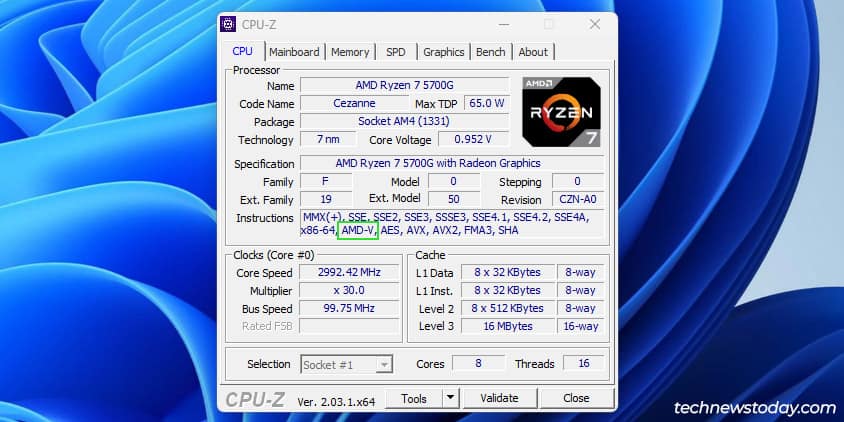
System profiling programs like CPU-Z are also popularly used for checking the Virtualization status. If it’s enabled, you should see flags like AMD-V or VT-x in the CPU Instructions section.
Anup Thapa primarily covers Windows systems, networking, and computer hardware at TechNewsToday. Anup has written professionally for over 5 years, and tinkered with PCs for much longer. His love for all things tech started when he got his first PC over 15 years ago. It was a Pentium IV system running Windows XP on a single 256 MB stick. He spent his formative years glued to this PC, troubleshooting any hardware or software problems he encountered by himself. Professionally, Anup has had brief forays into a variety of fields from coding and hardware installation to writing. In doing so, he’s worked with people of different backgrounds and skill levels, from average joes to industry leaders and experts. This has given him not just a versatile skill set, but also a unique perspective for writing that enables him to concisely communicate complex information and solve his reader’s problems efficiently. You can reach out to him at anup@technewstoday.com.